

here is all the things i used to make my cow, although there were a few things i forgot to add to the pic, a round piping tip, a ruler, a tooth pick and i used a cutting wheel, but a sharp knife or exacto blade works as well!


using a round piping tip the same size as your legs, cut out the hoofs and attach to bottom of legs and then poke into Styrofoam or oasis.

roll out a ball of white paste for the body and glue onto the legs
(your legs need to have dried a little before this so that they don't squish down with the weight of the body, but if you added tylose it doesn't take very long)

 next i made the spots for the cow, i just look little bits of black fondant and flattened them with my fingers into random shapes and sizes, you could roll it out and cut the shapes, but i thought this way would be a little more natural and random
glue onto body and insert some spaghetti where you will attach the head

i really enjoyed making this cow, and got a bit carried away and forgot to take some pics!
make a head out of paste and glue in place, add a few spots, make a wee oval shaped piece and glue onto head for muzzle.
support the weight of the head with balled up glad wrap over night until it has dried and will support itself.
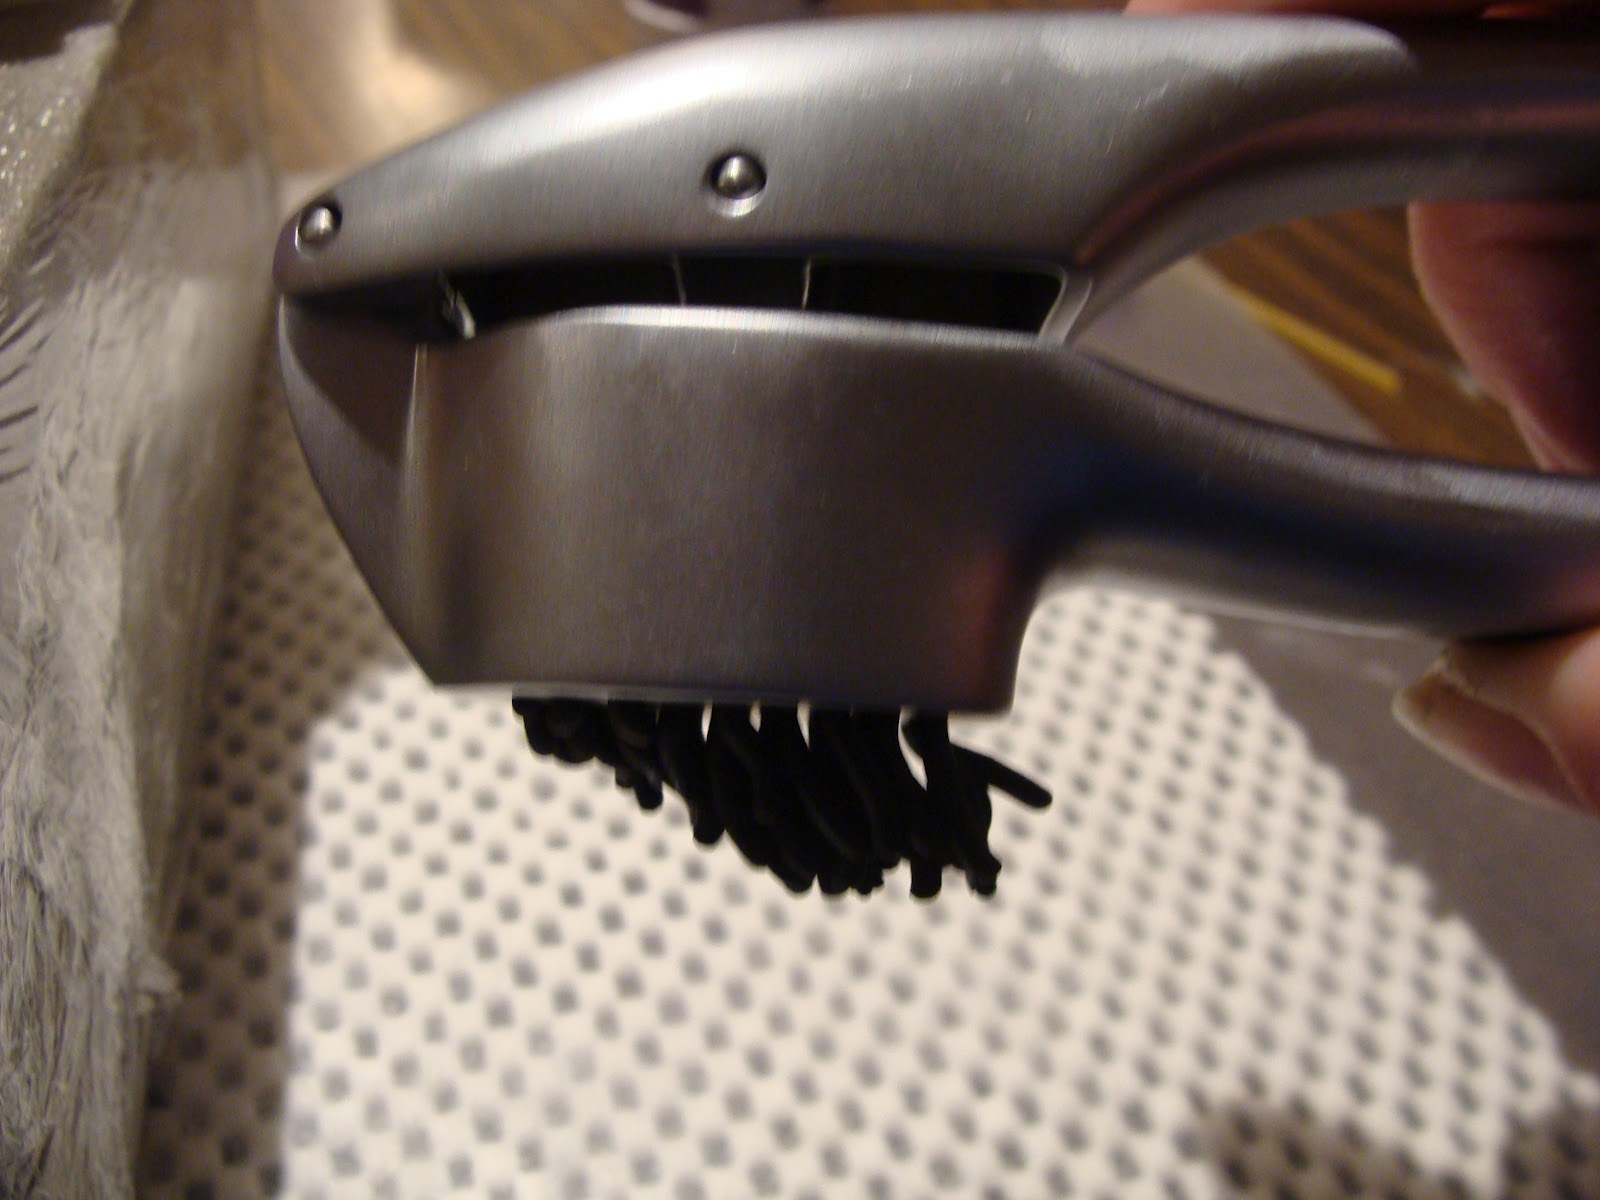
my 'secret weapon' use a garlic press to make hair from black fondant. (if it is too stiff, knead a little kremelta into the fondant before squeezing)

make two small triangles for ears and indent the middles

glue on hair and ears,
and some more things i didn't photograph, draw eyes, make little horns out of flesh or light brown fondant, and glue in place, and i also made 2 little indents in the muzzle for nostrils and placed small circles of the flesh fondant in the dents


make some tails, i like to have spares just in case. and set aside to dry overnight. glue some hair onto the end, and once it has dried turn it over and add some more hair on the underside.
make a hole in the rear for the tail to go, and make sure it is big enough to fit the tail once it has dried.

roll out some red fondant and cut a thin strip for the collar

glue the collar in place and make a small yellow bell shape and glue onto the collar.
and attach the tail into the hole you made.

and you are done! here is the finished animals on the cake, and if you would like to see photos of all my cakes check out
http://www.facebook.com/pages/Arbitrary-Cakes/181092665295987?ref=ts
until next time, happy caking everyone!
Well done Zarlene your cow looks awesome. I love that sheep so cute!
ReplyDeleteI just brought a clay gun thingy and it has heaps of attachments which is great for making hair and other shapes - thought i was very clever lol.
thanks rachel, i just brought a clay gun too, but i didnt use it on the me to you bear, as i needed so much hair, it was way easier in the garlic press. but i love all the different attachments that come with the extruder.
Delete